Categories
Home Improvement

Reduce Waste And Create a Tree-Free Home

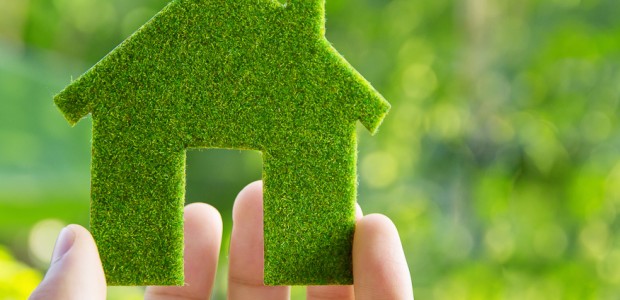
Yes, you read that right, a tree-free home can actually help the planet! We are not talking about live trees, though. Feel free to have as many of those in your backyard as you want. This is about reducing your consumption of products made out of trees, such as paper. Especially if they are disposable ones. Creating a tree-free home can seem like a daunting task. But if you take it one step at the time, it is completely doable. Here are some tips for you to start.

paperless-recycle-computer

Whenever possible, switch to cloth

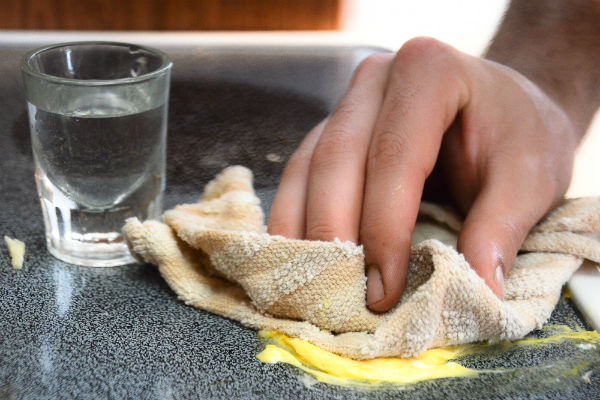
If you use paper napkins, stop. Buy a couple of sets of nice cloth napkins. They work the same, they look pretty and they actually make you seem fancier. Your guests will be impressed. Make sure to have at least a couple of sets, so you are not napkin-less when you need to wash them. Paper towels need to go too. Replace them with cloth towels (you can make your own by cutting up some old cotton t-shirts). get a small container to store the sued ones in your kitchen until you wash them for reuse.

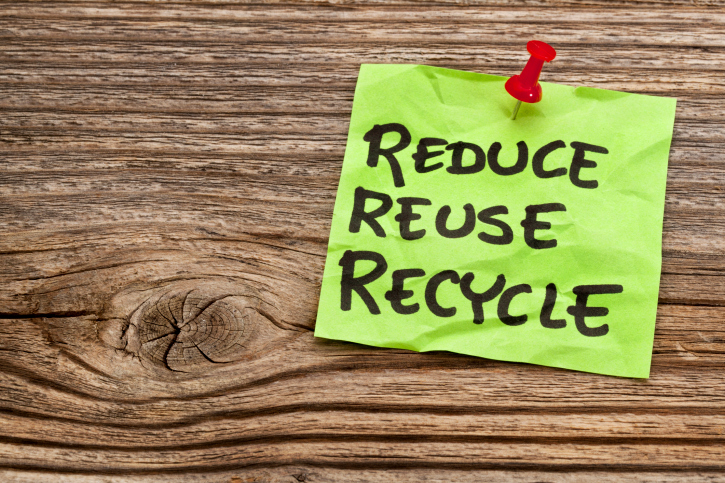
Reuse, recycle, reduce waste

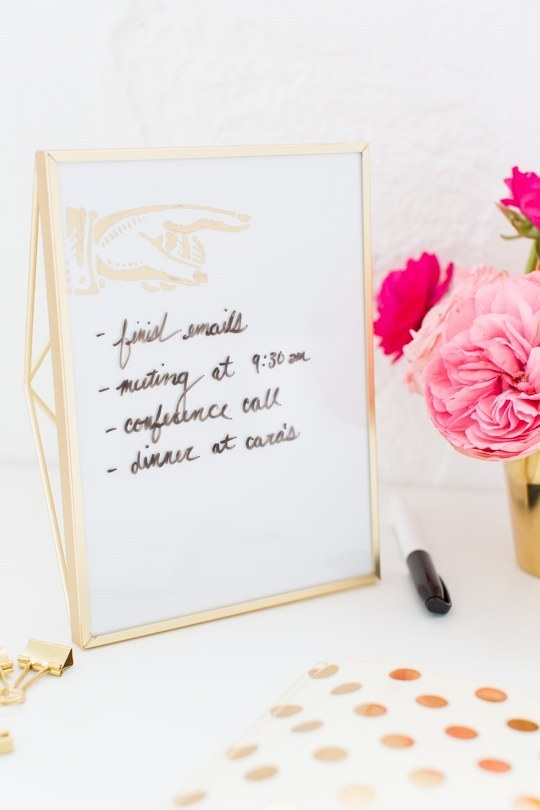
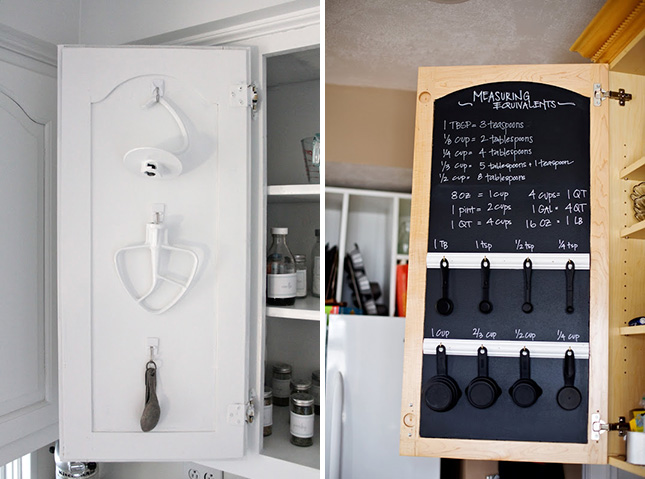
If you usually need to print documents, do so in paper that has already been used on one side. Reuse envelopes, wrapping paper, note pads and any other paper product you can. For paper products that cannot be reused (say, toilet paper), consider buying bleach-free, recycled and with the highest percentage of post-consumer waste content available. Consider getting a dry-erase board instead of buying post-its, or buy a bunch of letter magnets for the fridge to leave messages to your family.
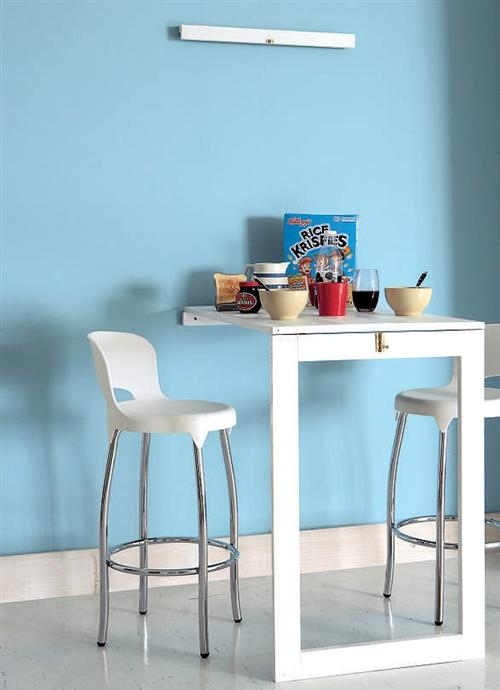
Go digital

One of the greatest advantages of the modern world is that is easier than ever to be paperless. Call every company that sends you bills and ask if they can send you only digital copies from now on. Buy an e-book reader and stop buying paper books and magazines. As an extra advantage, you will save so much space and you will be able to carry your entire library around. If you are afraid of tiring your eyes, make sure you buy a reader with an e-ink display that reduces glare (and saves so much battery). If you truly will miss paper books, consider buying only used books. They are cheaper too! Finally, say goodbye to your paper planner and download an app for your phone or computer. They usually have more functions, they are easier to use and they can track everything from birthdays to grocery lists.

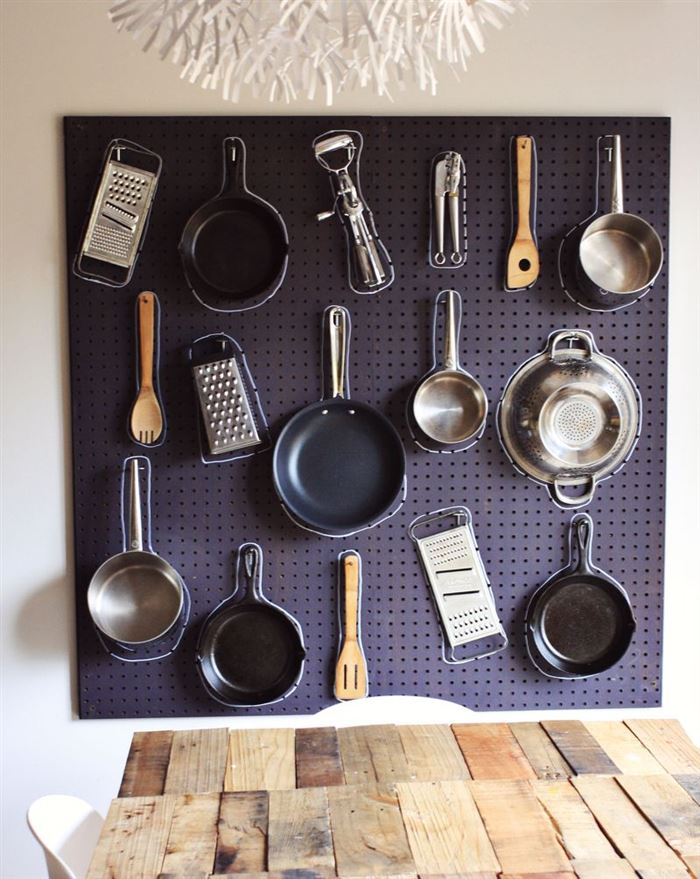
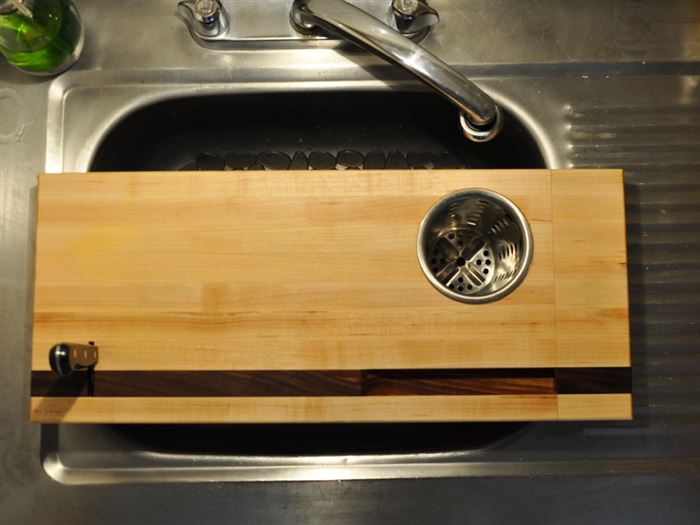
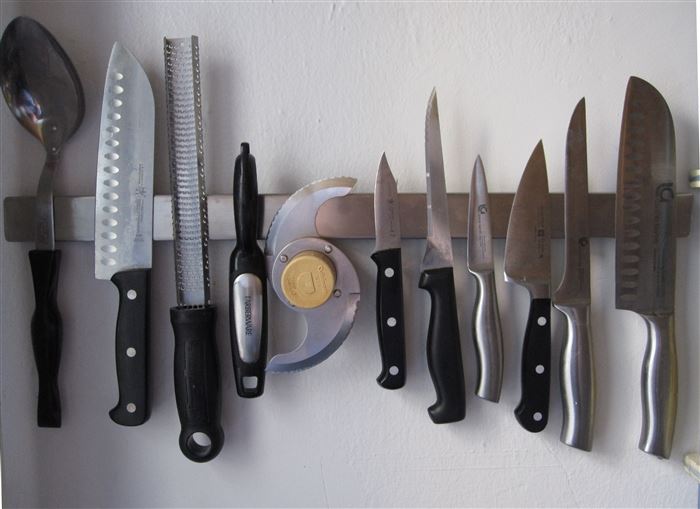
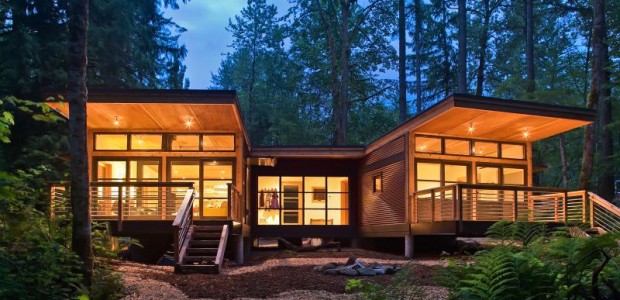
Avoid buying freshly-cut wood

If you are doing construction work at home, look up alternatives to newly cut wood. For example, bamboo is resistant, looks great and it grows really fast, so it’s an eco-friendly alternative. Straw bale, cob and natural linoleum are great too. If you have an eye on a specific type of wood, find local places to buy used wood. You can get pieces that still look great, without cutting down additional trees.

Categories
Home Improvement

Create An Eco-Friendly Bathroom By Following These 3 Tips

The bathroom is one of those places that, unless you are using it right now, you don’t think about too much. But that doesn’t mean that it can’t have a huge impact on the environment. Everybody uses the bathroom, all of our homes have one, and we use it multiple times during the day. If you can make small changes to make your bathroom greener, you can significantly reduce your environmental impact, without changing your lifestyle at all. Here are some tips to have an eco-friendly bathroom.

toilet-low-flow-eco-friendly

1. Low-flow toilets

Toilets use up a lot of water. Clean, drinkable water that is getting wasted daily, unless you do something to conserve it. In fact, almost 30% of all water consumption in your house is done by your toilet, that’s a significant portion. Some old toilets use up to 7 gallons of water per flush, way more than it’s actually necessary to get rid of the waste. If you already have a low-flow toilet, you can install a dual flusher that will give you the choice for “liquid waste” and “solid waste”, in order to use just the right amount of water per flush. If you have an old toilet but can’t afford to buy a new one just now, you can do a temporary fix. Fill up an empty water bottle with pebbles and leave it inside the tank to displace some of the water. That way, the tank will fill up with less water and it will be less wasteful. If you are worried about low-flow toilets not being as “powerful”, put a trash can in your bathroom and throw away paper, feminine hygiene products, floss and other trash that you would usually flush. Find a trash can with a lid and empty it regularly, so you don’t have “smell” problems.

2. Low-flow shower heads

We should all strive to cut down on our shower time. Ten minutes is more than enough to get clean, anyway. However, some days we all want to linger a bit and relax. This is why low-flow shower heads can be such life-savers. They will cut down your shower’s water consumption to 2.5 gallons per minute, as opposed to 5-8 gallons that normal shower heads consume. That is a significant change, and it will save you money as well.

3. Sustainable bathroom products

Shampoos, conditioners, body lotions and other similar products can end up contaminating the water sources, filling up landfills or contributing to animal suffering. Strive to buy all-natural and sustainable products in recyclable packaging. Check out vegan and cruelty-free brands. Switching toothpaste brands will make almost no difference in your life, but it can really have a huge impact on the environment.

Categories
Home Improvement

Getting Started On Solar Energy. What You Need To Know

We all dream of a world where everyone uses renewable energy that won’t pollute the Earth. for that world to be a reality, we all need to do out part. Solar energy is one of the best ways to live a sustainable life and in recent years it has become more accessible than ever. Both homeowners and companies can enjoy solar power more easily than you might think. However, with so much information going around it’s easy to get overwhelmed. Here are some basic things you need to know about solar energy before you get started.

solar-power-house-energy

1. Solar energy is a growing market – In 2014, solar investments grew 25% and the market is expected to be 16-25% larger by the end of 2015. This is the result of both governments and companies trying to become more sustainable in later years. For you, it means having more options to choose from. Today, there are more solar power companies than ever, and they all offer a unique service to fit different needs. Before you commit to any one company, you should definitely research the options in your area.

2. Do your research right – Right now, residential solar power is only a small portion of the market, which means that not every solar energy company will support the residential market. Only 20% of 2014 solar panel installations were done in residential projects, so you need to keep that in mind when looking for the company that’s right for you.

3. There are tax incentives for you – If you live in the US, chances are you can benefit from several federal and local tax incentives for solar power installations. The bad news is that the US investment tax credit, the largest solar subsidy in the country, is set to expire at the end of 2016. This would really be the perfect time to invest in solar panels for your home.

4. The cost of solar energy is going down – Both residential and commercial systems costs are down by over 50%, which means both businesses and homeowners can profit from investing in solar energy. This doesn’t mean that the installation will be cheap, though. The initial investment includes costs for installation, permits and equipment, which can add up to more than $15,000. While that may seem pricey, the real value comes in money saved from your regular energy consumption. Besides, tax credits can really offset the cost and there are several financing and leasing options to make solar energy more accessible for everyone.

5. Not all systems are created the same – A Solar Thermal System will use solar panels to gather sunlight and transform it into energy during daylight to use it for heating water systems. On the other hand, a Photovoltaic System will convert energy into electricity to operate many appliances in your home. Find out what system is the one you need and take that into account when calculating costs and benefits.

Categories
Home Improvement Recycling

Recently Moved? Upcycle Your Cardboard Boxes!

What is “upcycling”? It’s when you use discarded materials to create something new. Something useful, beautiful and with much more value than it originally had. For example, instead of throwing out or recycling cardboard boxes, your can upcycle them to create these great items.

desktop-organizer-cardboard-upcycle

Desktop organizer – If you are normally dealing with a lot of clutter in your desk and don’t know what to do about it, then this project is for you if you have a lot of leftover cardboard from the move, use them to cut around 20 square sheets (or any shape, as long as they are identical). Leave one to serve as a base and then cut slots in different sizes on the rest, to hold your items. The idea is to have around 5-10 sheets with the same slots (depending on the depth you need) and then simply stack them all and clue them together. You can later paint the whole ensemble or add details to make it match the rest of your desk. Now you have a single place to keep your little notepads, your keys, spare change and your cellphone.

cardboard-box-bookcase-DIY

Bookcase – This process is similar to the one used for the desktop organizer. You simply pick a shape that works for what you have in mind and cut several sheets of cardboard with that same shape. Carve out some slots of the desired size and make sure your books and notepads will fit. Now hang it on the wall and enjoy your new stylish and environmentally friendly bookcase.

cardboard-box-modern-art-wall

Modern wall art – This is a fun project that anyone can manage, no matter their artistic ability. Get all your cardboard scarps and cut them into small squares and rectangles of different sizes. Now place them together in a geometric composition. Don’t be afraid to make them overlap to get an interesting sense of depth. Once you are satisfied with the look of your piece, carefully glue them all together and finish with a coat or two of metallic paint. Glue the whole set to a support to be able to hang it from the wall and decorate your favorite room with it.

DIY-upcycle-cardboard-lantern

Geometric lamp – Cut out a cardboard frame for these lanterns, glue it together and coat it with your favorite color of spray paint. Then, use a colored tissue paper to cover the panels of the lamp, gluing it on the inside of the frame. Use cardboard for the top panel of the lamp, painted in the same color as the rest of the frame. Cut out a small slot to hang a string of twine. Tape the twine to the back of a battery-operated LED light and hang it on the inside of your lamp. Now you can enjoy a beautiful light fixture that people won’t believe you made yourself.

Categories
Home Improvement

Improve Your Home On The Cheap With These DIY Projects

If you are thinking about improving your home but are not particularly keen on paying ridiculous amounts of money to do so, you probably thought about doing it yourself. And you can, with these cheap and easy DIY projects, your home will look and feel so much better, without breaking the bank.

wainscoting-frames-wall-DIY

1. Create wainscoting with cheap frames. Instead of paying all the money for it, go to your favorite craft store and buy basic, cheap frames. Secure them to the wall to create that classic pattern and then paint them to match. Your living room will look so much classier and your guests will be none the wiser.

2. Peel-and-stick tiles hide water stains. If your bathroom or kitchen cabinet has leaked for any amount of time, chances are, there are water stains on the cabinet bottom. Instead of removing the bottom or sighing every time you open the doors, cover the water damage with peel and stick tiles. They are incredibly easy to install, they will make the whole thing look better, and nobody inspects your cabinet bottoms close enough to determine they are peel and stick tiles.

3. Hopelessly moldy shower? Re-grout and Re-caulk it. We are all fans of homemade cleaning products and other hacks to remove mold from the shower, but some times not even all the vinegar in the world can fix it. You have to address the root of the problem. Removing all the caulk and grout from your shower tiles is not a difficult process, it’s just time consuming. After you do that, clean well with a bleach solution, let it dry for 24 hours and apply new grout and caulk. Make sure you look for a brand specifically made for bathrooms, as it will be mold-resistant. Just remember, when in doubt, look up YouTube videos to really get the technique down.

4. Don’t throw out the old, tired armchair and sofa, just re-stuff the cushions. Instead of buying a new armchair and sofa, renew them with more stuffing. Perk up the cushions and get rid of the sagging look on the cheap by simply buying new stuffing. It won’t only look better, it will also feel more comfortable as well.

5. Stop your shoes from ruining your floors. If you have carpet or wood floors, you know shoes are your greatest enemies. Snow, rain, dirt, all of that takes its toll. And it doesn’t matter if you force everyone to remove their shoes as soon as they come in, because the floor near the door will still get ruined. Fix this with a simple pebble tray. It’s extremely cheap, all you need is pebbles and a tray. Put it near the door, and leave soaking wet shoes there. It looks nice, it’s practical and it costs almost nothing.

Categories
Articles Home Decor Home Improvement

Turn Your Bathroom Into Your Favorite Place In The World

When I’m at home, my bathroom is my sanctuary. I go there to clean and groom myself, to relax, to think and maybe play a little Angry Birds on my phone, (don’t judge.) The important thing is, you probably start and end your day in your bathroom, so it makes sense to try to make it as cozy and pretty as possible.

desk-dry-erase-board-DIY-bathroom

1. Read your To-Do list while brushing your teeth

Or while doing your make up and hair. Organize your day and go over your tasks just as you are waking up with a little dry-erase board for your bathroom counter. If you are confused about where to buy a tiny dry-erase board, you can make one with a photograph frame, a white sheet of paper and, of course, a dry-erase marker.

curved-shower-curtain-bar

2. Make your shower feel bigger with a curved curtain bar

Showers are the actual best thing, it’s the one moment of your day when you can relax and let your thoughts wander while the hot water soothes your muscles. And they would be infinitely more relaxing if they were not as tiny and cramped as they usually are. The good news is that you don’t have to rear your bathroom down to enjoy a roomier shower. All you need is a curved curtain bar, that you can get for less than $20.

bottle-shampoo-glass

3. Ditch your big plastic bottles

If you are anything like me, your bathtub or shower is basically a graveyard for half-empty plastic bottles for shampoo, conditioning, lotion, bubble bath, body wash and more assorted goo. But this not only takes up a lot of space, it looks ugly and cramped too. To solve this, take your Starbucks frappuchino glass bottles, clean them out well and reuse them to store “portion sizes” of your bathroom products. You can keep your big bottles out of sight under the sink and your bathtub or shower will look cute and cleaner, which will put you in a great mood.

sea-beach-stone-mat-bathroom-DIY

4. Bring a tiny spa inside your bathroom

This is one of those things that look super expensive and actually cost nothing. For a spa-like experience, reinvent your bathroom mat with ocean stones. All you need is a common rubber mat (with holes in it, to drain water), water-resistant glue and a lot of soft, round (and relatively flat) stones, like the ones you find on the beach. Glue them to your mat and feel the relaxing sensation of walking barefoot on the beach every time you get in or out of the shower.

shower-caddies-sink-cabinet-DIY-bathroom

5. Move your shower caddies under the sink

The shower is not the only place in your bathroom that needs organizing. And the cabinets under the sink are usually pure chaos. Get a couple of shower caddies and secure them to the walls, and you will always be able to find that one bottle you need.

Categories
Articles Home Improvement

Speed Clean Your House With A New Strategy

In a survey I just made up, the amount of time the average person wants to spend cleaning their house is “zero”. It’s something we all have to do, but we end up pushing it until the last minute and then panic because we don’t have enough time. But that’s about to change. With the right strategy you will clean faster and finish right on time to host that dinner party tonight.

awesome-mix-vol-1-tape

1. Don’t underestimate the soundtrack

It sounds silly, but listening to your favorite, preferably upbeat music will put you in a better mood and help you clean faster, with less pain.

cleaning-kit-bucket-paper-towels-products

2. Arm yourself with everything you need beforehand

You know what sucks? Going back-and-forth to the cleaning cabinet to get that one cleaning product you need now. Avoid this, get a basket and put all the cleaning products you think you’ll need (include gloves, sponges, tissues and vodka… trust me on this one), and carry it around while you clean.

box-clothes-couch

3. Reconnaissance mission

Get an empty box or basket and a trash can, and walk through every room in your house, twice. As you walk the first time, put every item that doesn’t belong in that room in the basket, and throw the trash away. When you walk back, put every item in the basket in its rightful place.

dishes-in-sink-dirty-clean-kitchen

4. I don’t have a clever title for doing the dishes

But you have to do them. Get them out of the way fast, especially if you are dreading this task. After you straightened everything in step three and you get a clean sink, your whole house will look so much cleaner immediately, which will motivate you to continue, because you are almost done.

vacuum-cleaner-woman-couch-carpet

5. Heavy duty weapons

If you have to vacuum, find the longest extension cord you have. It’s super simple, but it makes it so much easier. As long as you pay attention to where you are going and don’t entangle yourself, you won’t have to start and stop ten times and you’ll be done so much sooner.

vodka-surface-cleaner-natural-cleaning

6. Chemical warfare

Now is a good time to clean counters, tiles and similar surfaces. The top-secret, unexpected surface cleaner you have at home? Vodka. Or rubbing alcohol works as well, but with vodka you can have a motivational drink while you are cleaning. Get rid of greasy kitchen gunk and moldy bathroom muck, and shine your surfaces with the same product. Don’t worry about the smell, it will evaporate and dissipate quickly.

screwdriver-drink-oranges-glass

7. Victory!

You did it! Congratulations. Light a few candles (nice smells make everything feel extra clean) and have a celebratory screwdriver. You’ve earned it.

Categories
Articles Furnishings Home Decor Home Design Home Improvement

8 Hacks To Instantly Upsize Your Kitchen

We all dream with a big, spacious kitchen, like the ones in TV cooking shows. And even maybe one of those gigantic mansions we often see on MTV. Unfortunately for most of us, reality does not come with huge stainless steel counters and infinite room to put bowls away. If you want your tiny kitchen to feel bigger and maximize your space, here are some hacks that will make your kitchen go form “cramped” to “cozy”.

tiny-kitchen-shelves-sink-glassware

1. Think Vertically: use your wall space

Just because there’s no more room for cabinets, it doesn’t mean you should let those precious free inches go to waste. Put up shelves all the way to the ceiling and store cups, classes and mugs there instead of a cabinets.

cabinet-doors-measuring-cups-chalkboard-paint-kitchen

2. Use the inside of your cabinet doors

Maximize the space inside of your cabinets and hang your measuring cups, spices or pot lids there. As a bonus, it really is more practical to have certain items ready and organized as soon as you open the cabinet door.

kitchen-pegboard-pots-pans-deco

 3. Bring a pegboard to your kitchen

 Pegboards are not only for the garage anymore. After all, pots and pans are nothing more than the tools you use in the kitchen, right? Hang your pots, pans and other kitchenware in a pegboard, it will look good and keep your items organized.

over-the-sink-cutting-board-knife-kitchen

 4. Change to an over-the-sink cutting board

 Saving space is not only important when storing things. There’s nothing more annoying than not having enough room to comfortably prep your meal. Use an over-the-sink cutting board and save your counter space for other things.

drying-rack-over-the-sink-cabinet-dishes-kitchen

 5. Hide a dish rack over your sink

 Instead of wasting precious counter real state, install a dish rack over your sink. You’ll save space, and your drying dishes will be neatly tucked away from your sight.

spices-fridge-door-magnetic-life-hack

 6. Magnetize your spices

 You know what never gets used? Your refrigerator door. Buy small containers with magnets in them and display your spices, have them always on hand and save space, all in the same move.

magnetic-knife-strip-small-kitchen

 7. Bye bye knife block

 Use a magnetic strip to store knives and free up counter space. Have your knives always on hand and reduce damage to the blade.

fold-table-breakfast-kitchen-small

 8. Get a nice fold-up kitchen table

 If you don’t have a big family, a small kitchen table that folds up on the wall will save you a lot of space and make your kitchen feel bigger. You can find small, cute tables, that are practical and stylish.

Categories
Eco Tips Home Design Home Improvement

The Eco-Friendly Beginner’s Guide To Living Green

recycleSo you want to be ET and live that green-thumb life. Do you even know where to begin? Starting an eco-friendly way of living can be easy if you follow the right steps and it can be hard if you do it the wrong way. This simple guide should get you going on the right path to living environmentally conscious.

Getting Started

Rule 1: Get yourself in the green mode. Ask yourself if you are ready for the change.

Rule 2: Do research by going to the library.

Rule 3: Ask yourself again if you are ready.

First Steps

  • Ask friends that are living the green life for some helpful advice.
  • Tackle the change one step at a time.
  • Ask a contactor to help guide you with the necessary changes your home needs to go green.
  • Know that it will take a while until you are living the green life to the fullest.
plants-gardening-eco-friendly-winter
http://ow.ly/Fu4xP
  • Take anything that is not eco-friendly out of the house. It will be tough getting rid of things but is a necessary step. Fine, you can keep two things.
  • Start from the inside out. No need to green the outside when the inside cannot benefit from it.
  • Remember: reduce, reuse, and recycle.

Second Steps

  • Replace furniture with earth-friendly furniture. Pottery Barn, antique shops, and thrift stores are great places to purchase refurbished items and eco-friendly items.
  • Remember to recycle old items and turn them into new items.
  • Use eco-friendly paint to decorate the walls.
  • Remember LED is for thee.
  • Keep decorating minimal.

Final Steps

  • Plant locally because the vegetation has a better chance of surviving because it is used to the weather conditions.
  • Purchase used stuff instead of new things. Read e-books instead of books.
  • Stay away from plastic. I mean it! It will kill you…not really, but you get the point.
  • No more fast food, soda, or junk food. Purchase food from a farmer’s market.

farmers-market-fruit-veggies-eco-friendly

  • Grow your own crops. Nothing is better than making fresh food with vegetables from your own garden. Just remember to take care of the garden the eco-friendly way.
  • Say bye to your gas guzzler. You should purchase a hybrid, ride a bike, or take mass-transit.
  • Keep up the routine.

Extra help:

  • Look for eco-friendly products while you shop.
  • Keep reminding yourself that you are helping Earth live longer.
  • Remind visitors that they are guests in a green home.
  • Do not be ashamed to be a tree hugger. Trees love being hugged.
  • At least once a month, you have to watch Fern Gully. (optional)

You’re done!

There you have it. Now you have no excuse on not going green. Better your environment and decrease your carbon footprint. By the time you make your home a fully green zone; you will be very pleased with the outcome. Who knows? You might even change other people’s minds.

I hope this simple guide helps you out in the long wrong. Unlike ET who went home, you get to stay put in your eco-friendly green home. Deal with it. Remember to turn off the lights. Good night.

Categories
Eco Tips Green Building Home Decor Home Design Home Improvement

10 Mistakes: You Are Building That Green Home Wrong

green-building-mistakes-ruining-existing-ecosystemsSo you want to build a green home? Do not look at me. I am not going to help build it. I will give you some mistakes to avoid when building a green home of your own, but that is it. If you want to reduce your carbon footprint and be environmentally conscious then make sure you know everything you need to know about eco-friendly building.

It is not as easy as it seems.

Avoiding these mistakes will help your green home building process go faster and easier.

Mistake 1: When you plan out your green home, do not make it big like a palace. Keep in mind your lifestyle. The bigger the house, the more it will cost in electricity, heating, and not to mention the unused space.

Mistake 2: Straying off the beaten path is bad. Why? If you build in a new area away from town, and deep in the countryside, then you will ruin an established ecosystem. Know your lot and location before you break ground.

Mistake 3: Not thinking ahead of time can be damaging. Will you be living in your home 20 years from now? To be honest, I would not even know if I were. Knowing how long you plan on staying in your new green home can help with budget and space issues.

Mistake 4: Not doing research on green building can be bad in the long run. Yes those wooden floors are made from recycled wood but are they great with the moisture environment you live in? Knowing what building materials to use for your new home’s location is priceless. Plus, if you get contractors, they cannot screw you on the price because you know what you are talking about.

Mistake 5: Filling your home up with non-eco-friendly appliances is a no-no. Just think before you sink.

Mistake 6: Missing out on the sun’s energy is so wrong. Take advantage of the sun and use solar paneling. Make sure the roof is facing south; actually, your whole house should be facing south. You save lots of energy.

Mistake 7: Listening to your friend who knows nothing about green building, will not help you. Ask for help from a knowledgeable source.

Mistake 8: Insufficient insolation will empty your pockets in a quick minute. Insulate well and keep the cold out. If you do it right, then you will be living cozy and nice. Plus your electric bill will be very low.

Mistake 9: Going flat on the roof design is bad for a green build. Slant the roof to allow drainage. Make sure it too is insulated well. You can also make the drainage pipe connect to the garden to use the water.

Mistake 10: Forgetting to plant the actual green is often overlooked. Plants are very beneficial to green building. Do not plant random trees, bushes, and flowers. Do some research and plant what will thrive in your environment.

Do not follow these mistakes but learn from them. In no time you will have your own green home.