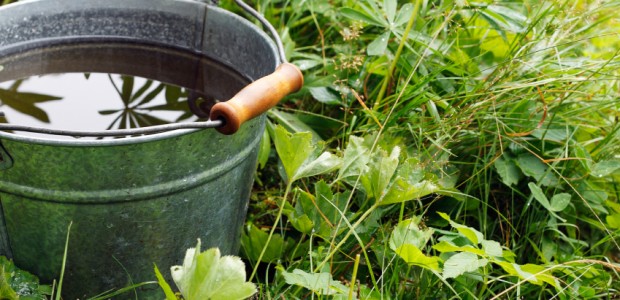
You have heard the old saying “April showers bring May flowers…” but did you realize you can save on your water bill and the environment just by investing in a rain bucket? A rain bucket can be anything you want it to be. Whether you use an old plastic moving tub, a plastic bucket, or even an old garbage pail, you can use those to collect greywater. A type of grey water is rainfall and while you can’t drink rainwater, your plants can certainly use it! You probably won’t collect enough water to water your plants throughout the entire season but it will certainly help keep the soil moist during the hot summer months.
Make sure to put your rain bucket near downspouts, that way the rain buckets can collect the water that lands on the roof. Your roof normally is the largest surface area so you will be able to collect the most water from these areas (a shed can work too!)
It is really easy to make your own rain bucket it just takes a little time and a trip to Lowes or the Home Depot (you might even have some of the materials in your garage!) For this project you are going to need:
1 – 32 Gallon Vinyl Trash can with Lid (preferably)
1 – 1″ PVC Male Hose Adapter
Drill with 1″ Spade Bit
White Caulking Plumbers tape
Step 1. Once you have found the location you would like to place your rain bucket, measure and cut the downspout above or near the top of the rain bucket. Normally you would cut off part of the down spout so the end sits a little higher than your bucket. Cut a hole in the shape of the downspout near the top of the bucket. You can also cut an overflow hole about the same size on the other side to allow excess water to escape when it’s full.
Step 2. Next, drill a 1″ hole about 3-4 inches from the bottom of the rain barrel. Using some common plumbers tape, wrap the threads of the adapter to keep water from leaking through the hole. Screw adapter from the inside so the threads are exposed to the outside of the Rain.
Step 3. Insert the downspout pipe from the roof into the rain bucket and attach the overflow to the other side. Attach a garden hose to the bottom adapter and caulk around the gaps to ensure the unit is sealed. This is important as mosquitoes would love to nest in your rain barrel (if you don’t have a top for your rain bucket buy mesh netting.) Once everything is connected, fill with water and test. The pressure from the amount of water contained inside the rain bucket will allow you to water your plants without much difficulty.
You are now ready to sustainably water your flowers and vegetable gardens well into summer!
Sources: ezinearticles.com, (http://ezinearticles.com/?Make-a-Rain-Bucket-in-3-Easy-Steps&id=2441701).