For many years, the primary packing system for seedlings, are plastic packs of four to twelve containers. The plastic is petroleum based in makeup and automatically makes them a disposable, but not biodegradable product. Nor are they the best way to guarantee that all the plants you purchase would survive and grow. Despite drainage holes, these containers promote root rot through poor air circulation and often many of the plants in these packs do not survive.
Some manufacturers have started to make biodegradable planting pots. These plant containers such consist of wood fiber and peat moss and no drainage holes are necessary and the pot disintegrates into the soil. These pots not only make gardening easy for you (it is not necessary to remove the plant from the plastic pot and re-transplant) but they are better for the environment. Read on to learn how to make your own biodegradable pots at home.
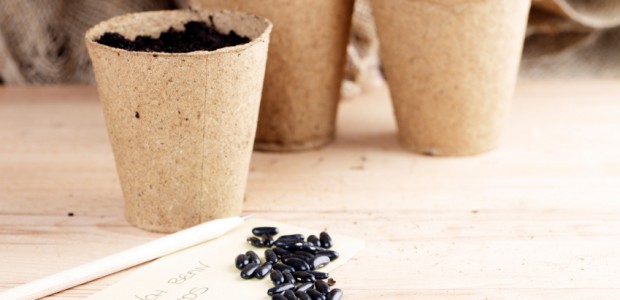
How to Make Your Own Biodegradable Pots
- Take a tin can, a small plant-pot, or even the inner cardboard tube from a roll of toilet paper, and, folding one sheet of newspaper in half length-ways, wrap it around the can or pot, leaving enough paper at the bottom so that you can fold or tuck it in to make a floor for your pot.
- Still holding the newspaper, sit the pot upright and remove the can or tube from inside. Using your fingers, or a pencil, press down the folded paper bottom and tip a little bit of compost in to ensure your new biodegradable pot holds its shape, but keep hold of the outside in case it starts to unravel.
- Now fold down the top, making sure that you fold over the ends of the paper to stop it springing loose. As soon as it holds, pour in more compost up to a couple of centimeters from the top.
- Place the pot on a tray and gently moisten the soil. You can crowd lots of other makeshift pots around it for additional support and to help retain moisture.
- Now you’re ready to plant your seed. Leave the tray on a warm, sunny windowsill and you should start to see little green shoots appearing in a matter of days.
- As soon as the seedlings are big enough (follow the instructions on the packet), you can start hardening them off by taking them outside for the day, and bringing them in at night for about a week before you plant them out. If the seedlings are going directly into a pot inside, you can move them as soon as they are a few inches tall. Do be aware though that plants do grow very quickly in these early stages and you’ll need a larger pot than you think (especially if you’re growing mint, which tends to spread!).
(Instructions courtesy of pledgingforchange.com)