After you have grown your own veggies for a few years, you may be tempted to start your own seedlings. After all, a packet of vegetable seeds is much less expensive than a six-pack of vegetable seedlings, and you will get 25 or 30 seeds in each packet. Starting seedlings in peat pellets on a windowsill is fairly easy. However, if you don’t have a grow light, your seedlings will quickly become leggy. Most windowsills just do not have enough sunlight for a growing seedling, but the seedlings may not be quite ready for the outdoors. The weather of early spring can be notoriously fickle, and seedlings can freeze on an unexpectedly cold night or become damaged by an unexpected hailstorm.
Soda bottle greenhouses can help your seedlings grow tall and strong by allowing them to be outdoors with plentiful sunlight. However, they also provide protection from unexpected cold snaps and harsh spring storms. Additionally, they are an eco-friendly way of reusing trash that would end up in a landfill.
To make soda bottle greenhouses, you will need one empty soda bottle for each seedling, a craft knife, and potting soil. You can start your seedlings in peat pellets on your windowsill. Alternately, you can directly plant the seeds in the soda bottle greenhouse.
To make the greenhouse, first remove the label from the soda bottle and rinse any soda residue from the inside of the bottle. This sticky juice could attract ants; the ants will not damage your plants but will definitely be annoying.
Using the craft knife, pierce the bottom of the soda bottle to create a small drainage hole. Next, about halfway up the bottle, cut around the circumference of the bottle. Do not cut all the way around. You probably just need to cut about 85 percent of the way around the soda bottle. You can then fold back the top half of the bottle.
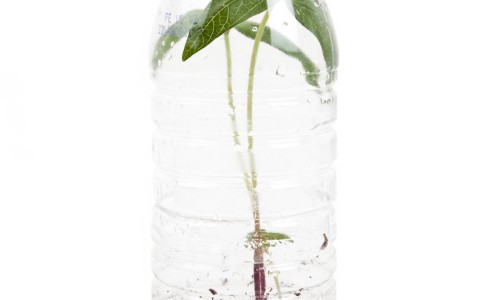
Fill the bottom half of the bottle with high-quality potting soil. Dampen the soil by pouring water into the dirt until it comes out of the drainage hole at the bottom of the bottle. Next, plant your seedling or seeds in the dirt.
Carefully move the top of the bottle back over the top of the seedling. Do not allow the plant’s leaves to become pinched in the plastic. Set your soda bottles outdoors in a sunny area. The soda bottle will protect the plant from cold weather and bad storms. You can leave the top of the bottle on if cold weather is an issue. However, if it gets hot, you will want to remove the lid to allow for ventilation and airflow. When the garden spot is ready and the last frost date for your area has passed, cut away the top of the soda bottle and plant your seedlings in the garden.
~April F.